Introduction:
Microsoft introduced the public preview of Video Indexer as a part of Cognitive Service. Previously, we used Video API but now it's replaced with Video Indexer. Video Indexer automatically extracts the metadata and builds intelligent innovative AI applications based on Video and Audio.
In this article, I will show how to integrate Video Indexer embeddable widgets into the mobile application.
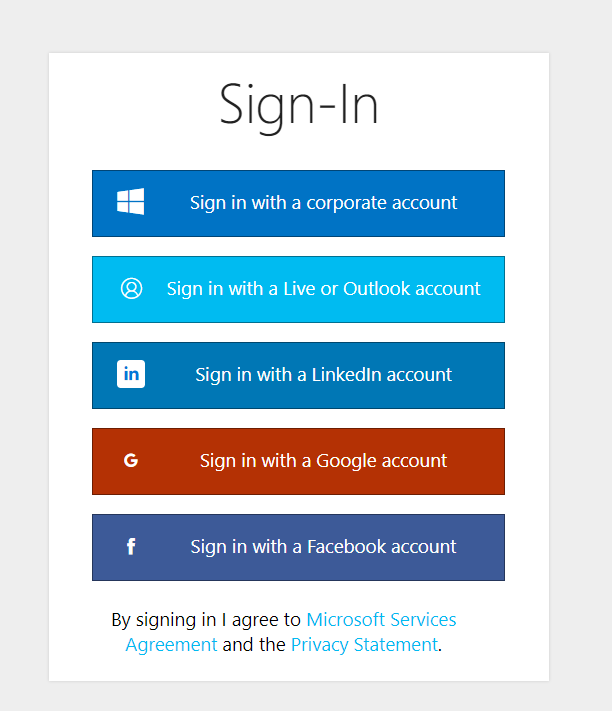
Create Video Indexer Account:
The implementing Video Indexer into the application, you must have to create account and upload your video using my previous article as a reference .
Video Indexer supports embedding two types of widgets into your Mobile application
- Cognitive Insights – its Includes all visual insights that were extracted from video indexer.
- Player -its enable you to stream the video.
Embedding Video:
I will show below steps for how to get embedding source from video indexer portal
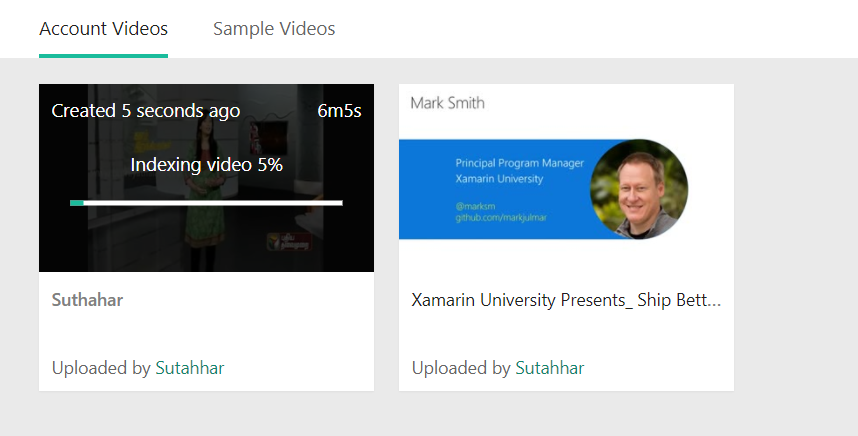
Step 2: Select your video, whichever need to integrate to the application.
Step 3: Click the "embed" button that appears below the video.

Step 4: After click on “embed” button, Select the widget you want to embed with the desired options. (player/insights)

Step 6: You can copy the embed codes from embed popups and start implement into your application for Public videos. If you want to embed a Private video, you have to pass an access token in the iframe src attribute as a query string .
Create Xamarin / Web Application:
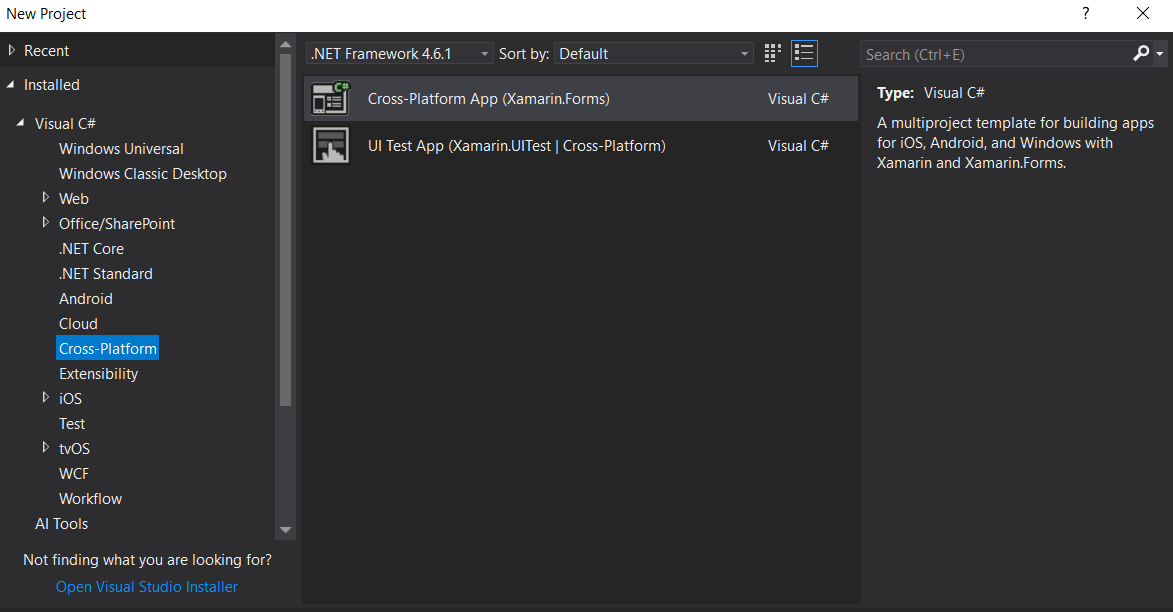
Let's start with creating a new Xamarin Forms Project using Visual Studio. Open Run - Type “Devenev.Exe” and enter - New Project (Ctrl+Shift+N) - select Blank Xaml App (Xamarin.Forms) template.

It will automatically create multiple projects, like .NET Standard, Android, iOS, and UWP.
Implement Cognitive Insights Widget:
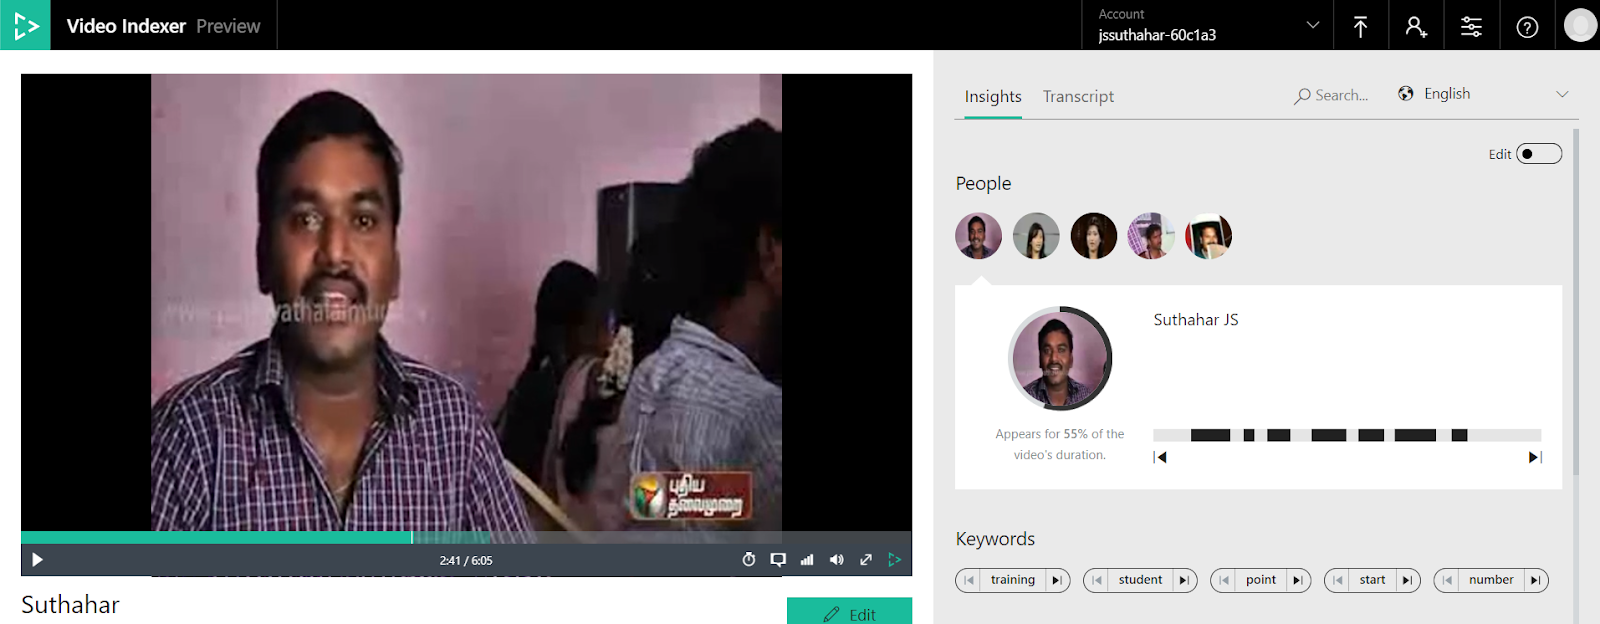
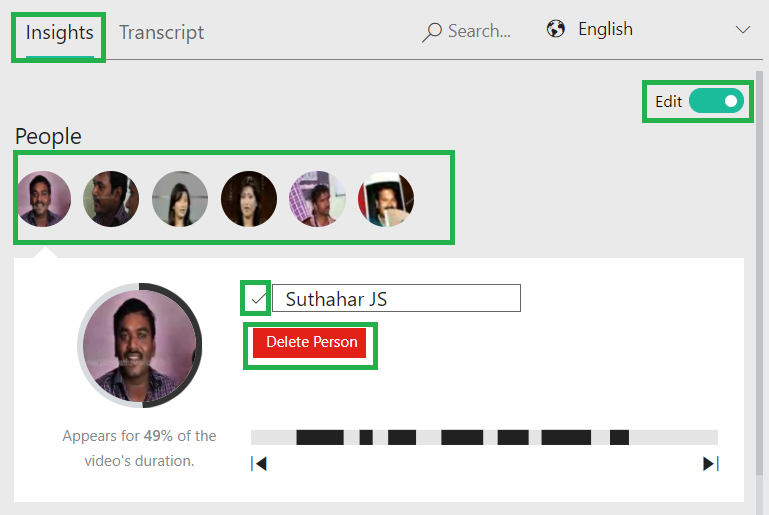
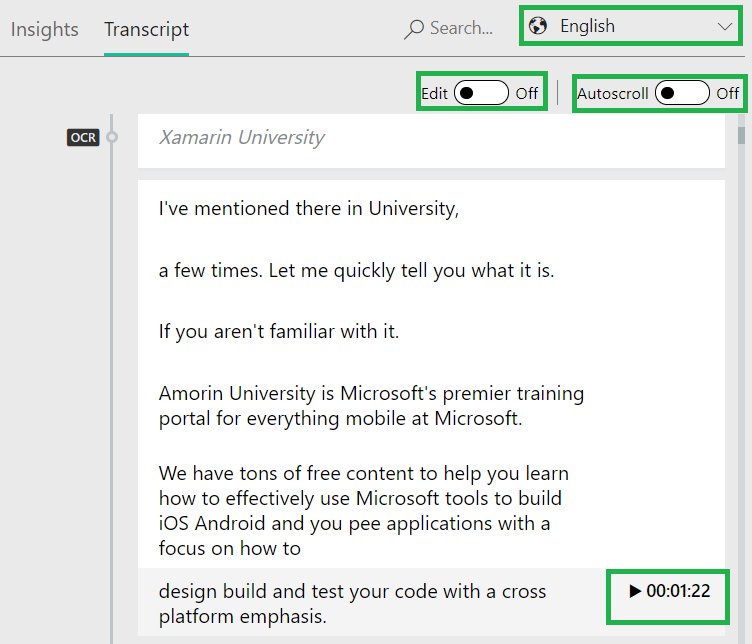
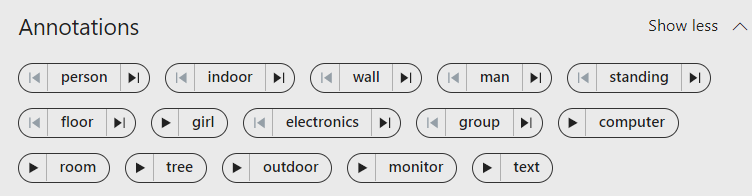
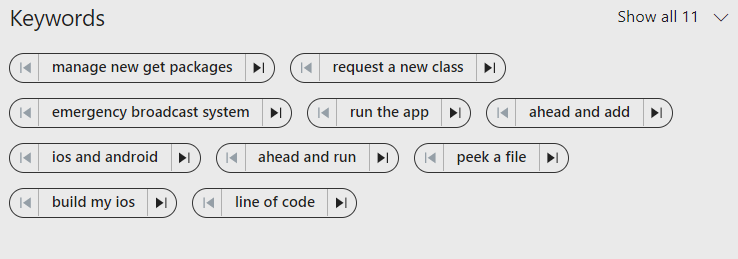
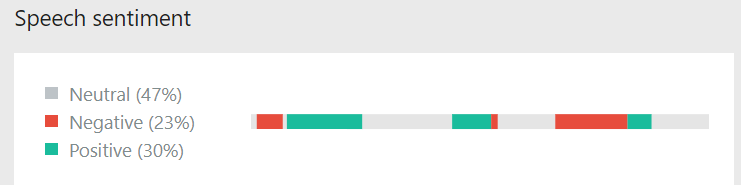
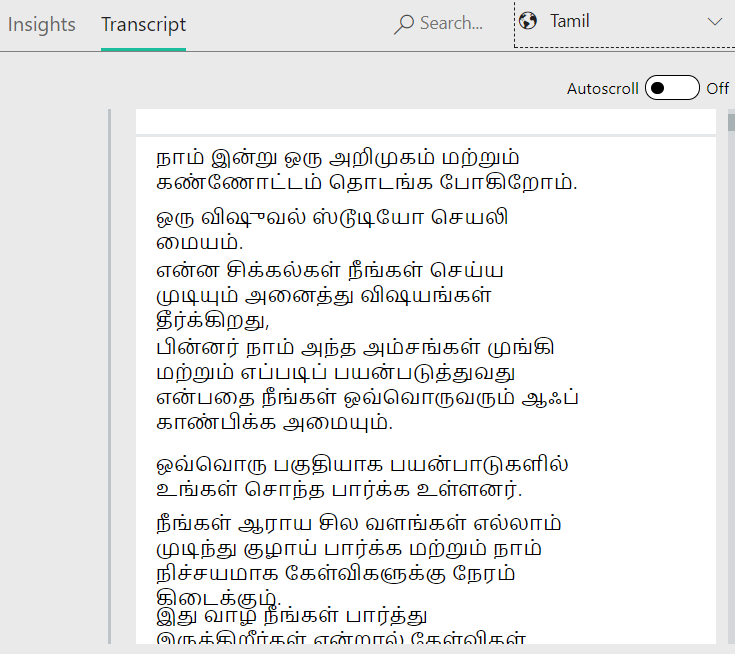
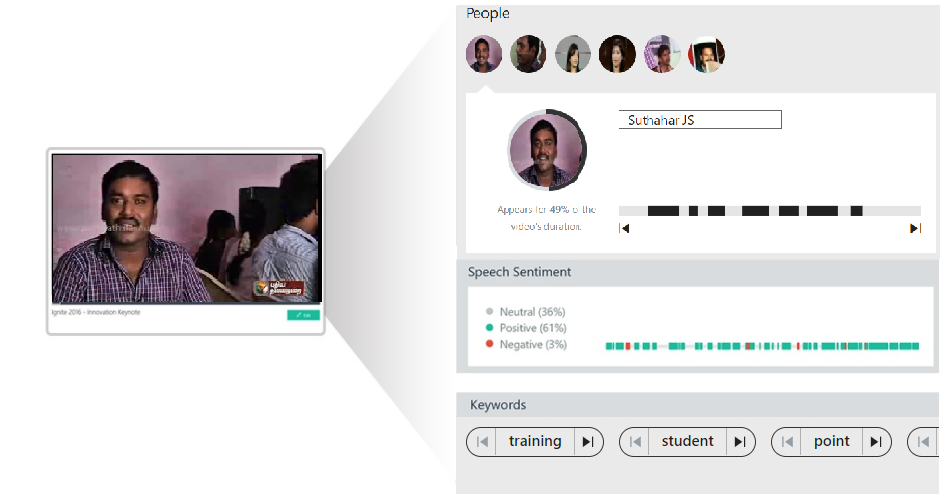
Cognitive insights widget contains all the visual insights that were extracted from the video after the indexing process such as people appearances, top keywords, sentiment analysis, transcript, translate, and search.
Let we start implement into the Xamarin Application.
You can add webview control inside the content page as per below xaml design
<?xml version="1.0" encoding="utf-8" ?>
<ContentPage xmlns="http://xamarin.com/schemas/2014/forms"
xmlns:x="http://schemas.microsoft.com/winfx/2009/xaml"
xmlns:local="clr-namespace:VideoIndexer"
:Class="VideoIndexer.MainPage">
<WebView x:Name="browser" WidthRequest="1280" HeightRequest="780"></WebView>
</ContentPage>
|
You can use your cognitive insights widget code from c# code as a htmlwebviewsource . You can specify the query string for whatever widgets need to display ( <url>?widgets=people&title=myInsights)
public MainPage()
{
InitializeComponent();
// var browser = new WebView();
var htmlSource = new HtmlWebViewSource();
htmlSource.Html = @"<html><head><script src='https://breakdown.blob.core.windows.net/public/vb.widgets.mediator.js'></script></head>
<body><iframe width='580' height='780' src='https://www.videoindexer.ai/embed/insights/9123e16b12' frameborder='0' allowfullscreen></iframe>
</body></html> ";
browser.Source = htmlSource;
}
|
You can deploy the application, the output look like below

Implement Video Insights Widget:
The video player widget is a customized Media Player that except of providing video streaming, contains extra features such as playback speed and closed captions. Refer below code for video insight wedge implementation
public MainPage()
{
InitializeComponent();
// var browser = new WebView();
var htmlSource = new HtmlWebViewSource();
htmlSource.Html = @"<html><head><script src='https://breakdown.blob.core.windows.net/public/vb.widgets.mediator.js'></script></head>
<body><iframe width='1280' height='720' src='https://www.videoindexer.ai/embed/player/9123e16b12' frameborder='0' allowfullscreen></iframe>
</body></html> ";
browser.Source = htmlSource;
}
|
Implement Video and Cognitive Insights Widget:
Copy the player and cognitive insights embed code and also include javascript communication file for communicate with each other widget
var htmlSource = new HtmlWebViewSource();
htmlSource.Html = @"<html><head><script src='https://breakdown.blob.core.windows.net/public/vb.widgets.mediator.js'></script></head>
<body><iframe width='1280' height='720' src='https://www.videoindexer.ai/embed/player/9123e16b12' frameborder='0' allowfullscreen></iframe>
<iframe width = '1280' height = '780' src = 'https://www.videoindexer.ai/embed/insights/9123e16b12/?widgets=people&title=myInsights' frameborder = '0' allowfullscreen ></iframe >
</body></html> ";
browser.Source = htmlSource;
|
Summary
In this article, we learned how to sign in to Video Indexer and integrate Video Indexer embeddable widgets into the mobile cross platform application. If you have any questions/feedback/ issues, please write in the comments box.
 |
| MSDN Source Code |