Introduction
The Bot Framework enables you to build bots that support different types of interactions with users. You can design conversations in your bot to be freeform. Your bot can also have more guided interactions where it provides the user choices or actions. The conversation can use simple text strings or more complex rich cards that contain text, images, and action buttons. And you can add natural language interactions, which let your users interact with your bots in a natural and expressive way.

In this article, You will get understand deploy a bot application to Azure using visual studio 2019, you can register app in Azure portal and test in Bot Framework Emulator and Webchat Channel.
Setting up the development environment
In order to follow along with this article, you will need the following apps and accounts:
- Azure Account – Use your MSA Account to sign-in to the Azure Portal
- Download the Bot Framework V4 Emulator for your platform from the GitHub releases
- You can read my previous article for Getting Started with Bots Using Visual Studio 2019 from here
Register Bot Application
After installing and configuring all of the above listed software and accounts, continue to the below steps.
Step 2: Click on Sign in button and login with Azure credential
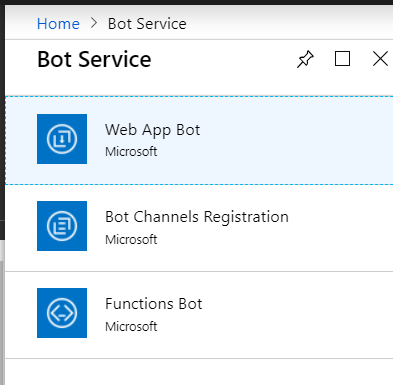
Step 3: Click on Create web app Bot
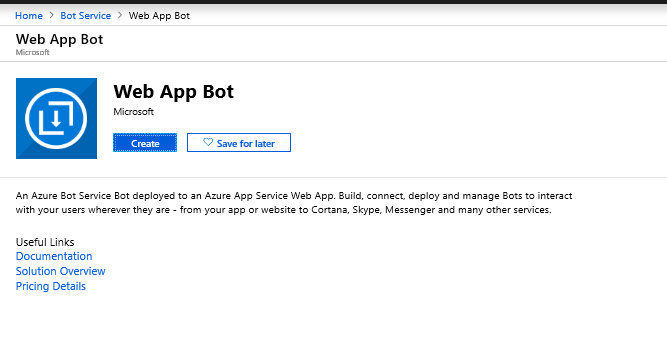
Step 4: Start create Web App Bot and click on Create
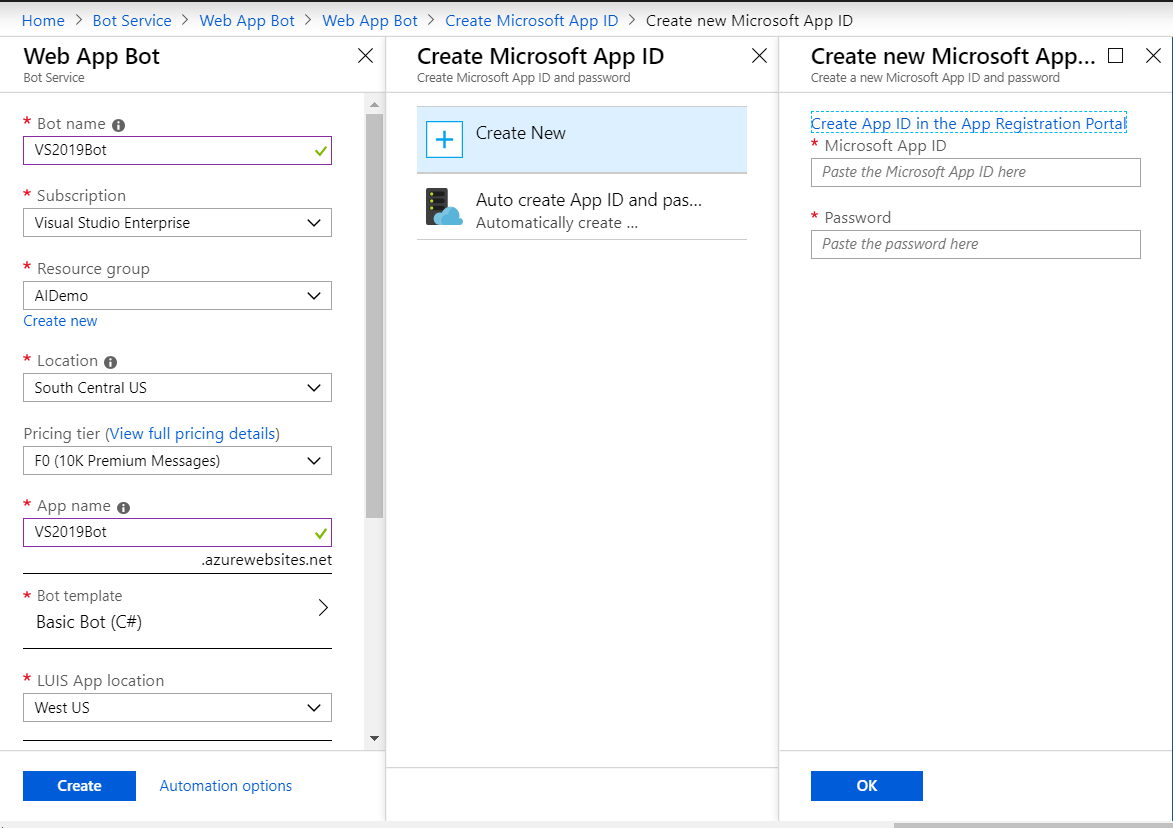
Step 5: You can provide the following information in Web app bot and create a new Microsoft App Id and password and click on Create
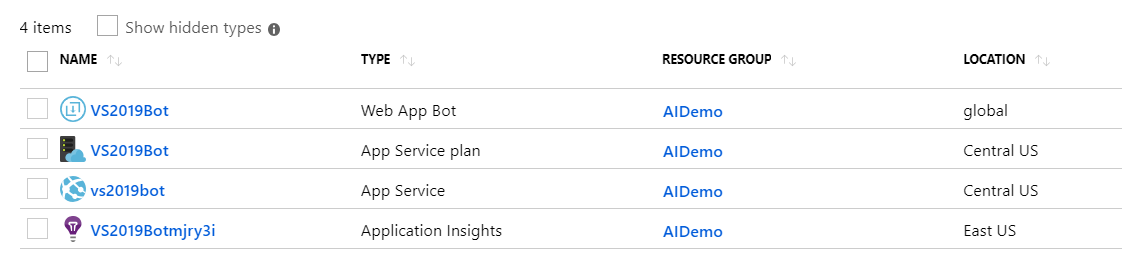
Once its completed, it will generate Application end point url and appID and there are 4 service will create automatically in azure portal as follows
- App service
- APP service plan
- Web app bot
- Application insights.
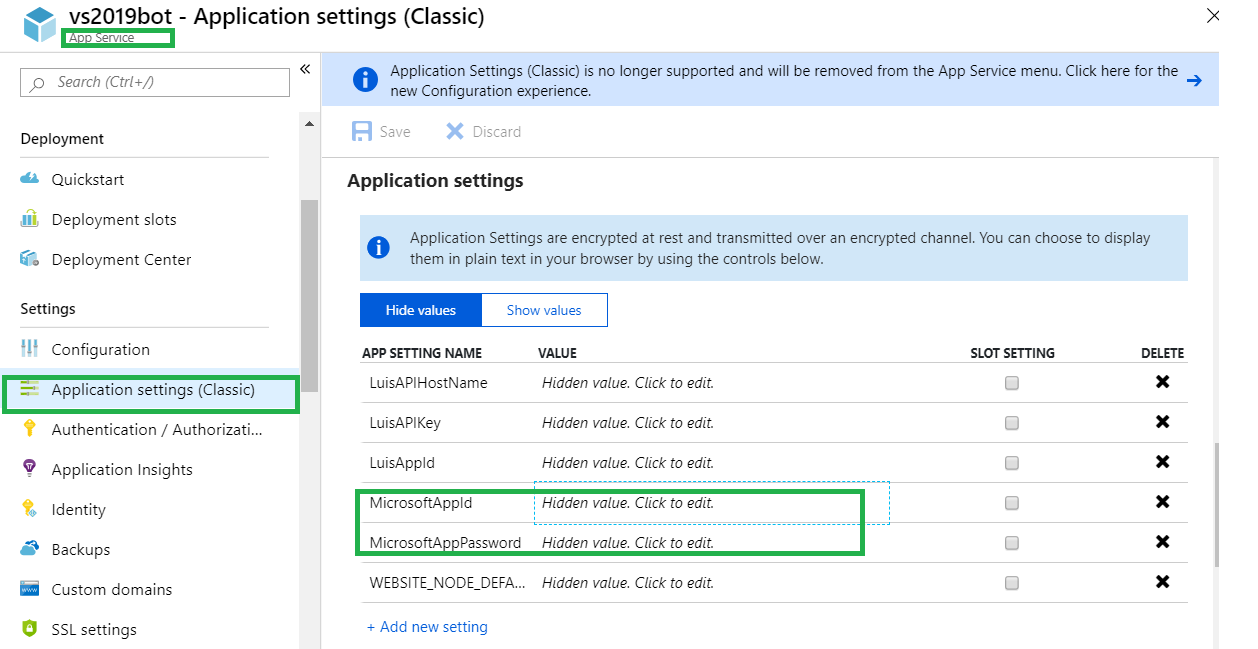
Open your app Service in Azure and copy the Microsoft App Id, Microsoft App Password,LUIS Hostname,Key and AppID values from application settings .
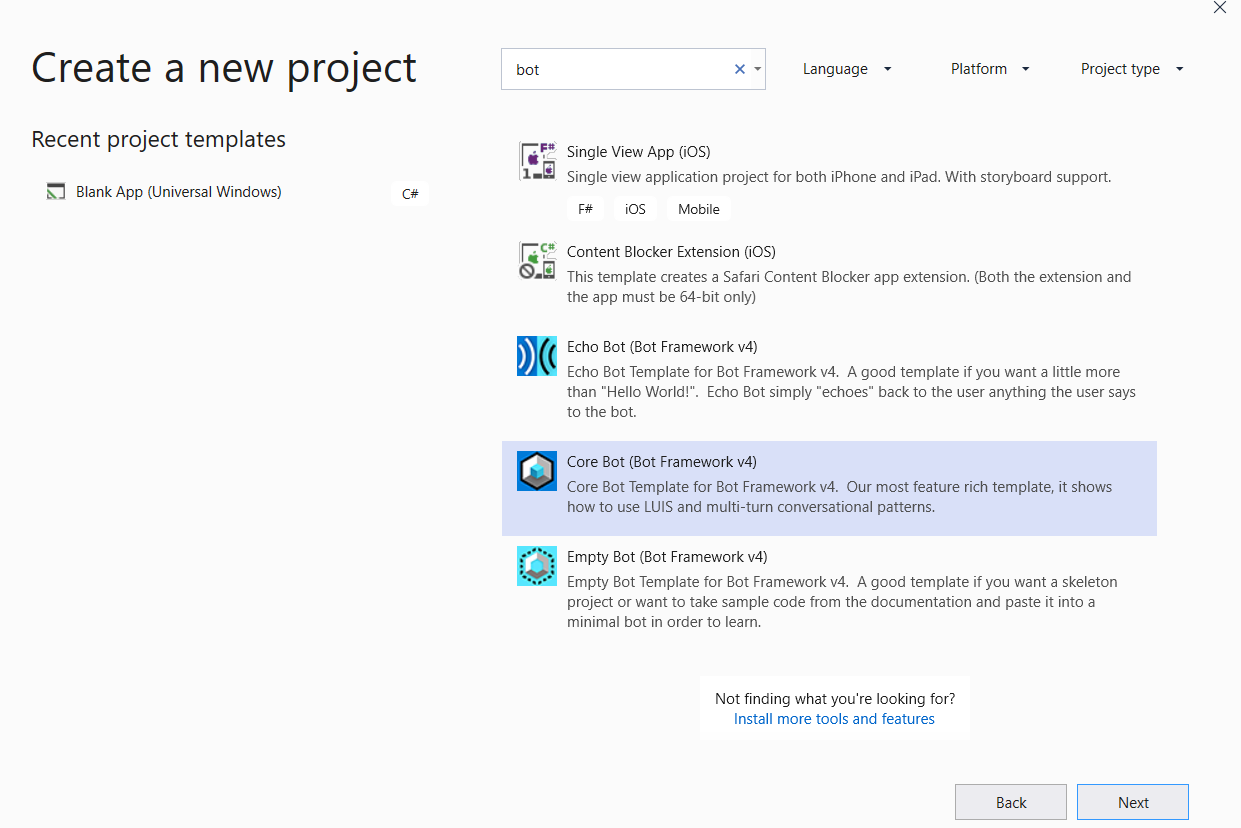
Create Bot Application using Visual Studio 2019.
You can read my previous article for setup Bot development environment in visual studio 2019 and create simple Bot using Visual Studio 2019 from here
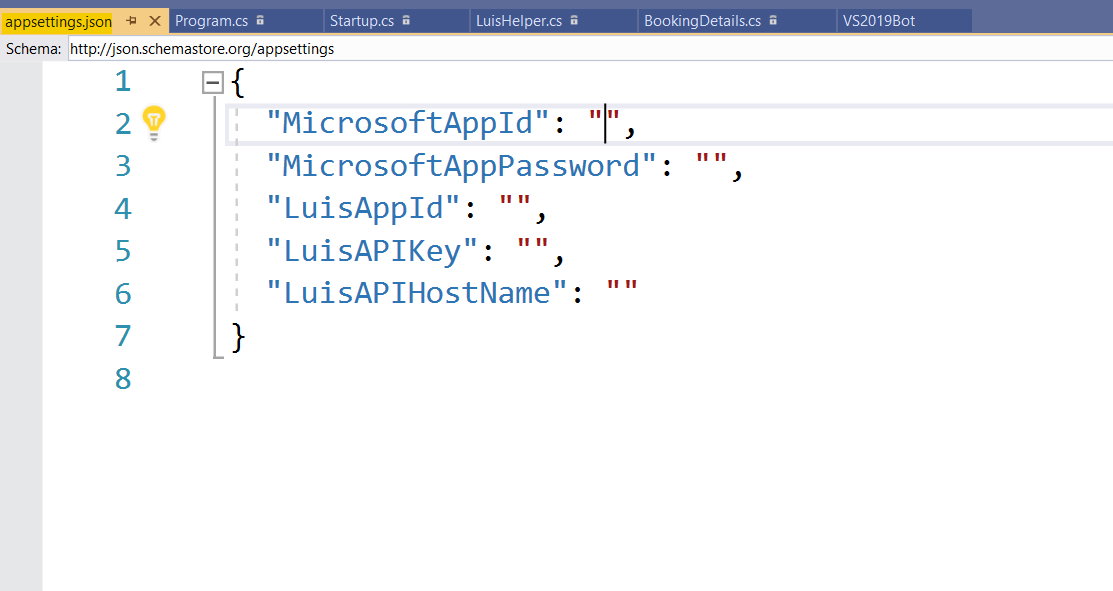
Update AppSeting.JSON File
Open appsetting.json file from Visual studio 2019 and past your MicrosoftAppId, apppassword, LUisAppID, LUISApIKey and host name.
Run Bot Application in Local Emulator
Let we start test our bot application in locally using Bot emulator. Open emulator and click configure new Bot and provide local end point URL and Appid and password.

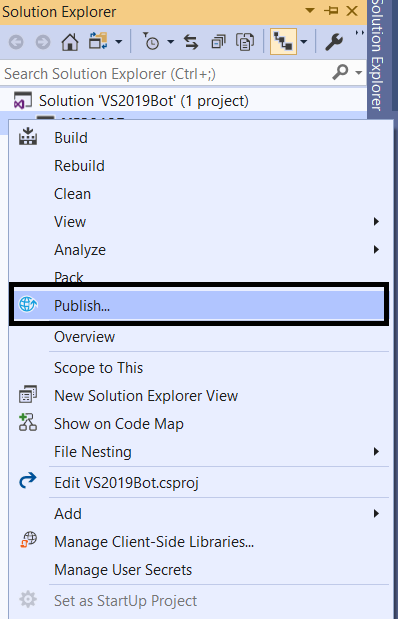
Publish Bot Application into Azure App Service
Once tested your application in locally. Now, we can publish bot application to Azure. Right click on Bot Project > Select on Publish and start publish bot application into azure
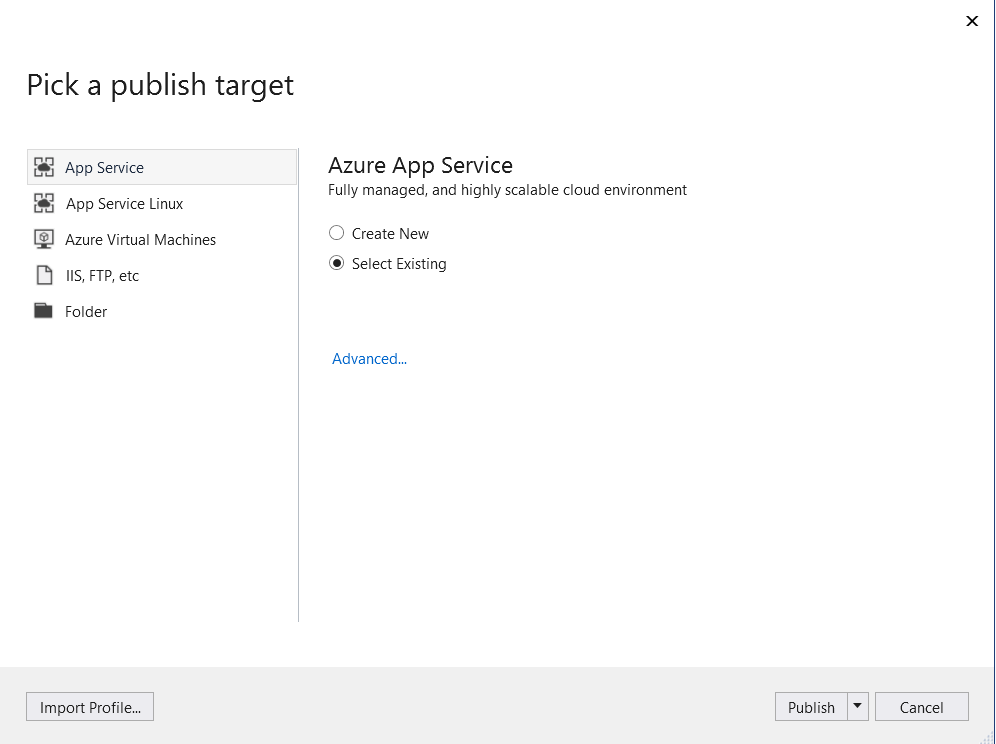
Visual Studio Azure publish Wizard
Azure auto created App service while create web app chat, so select on Microsoft Azure App Service > select on Existing and click on publish
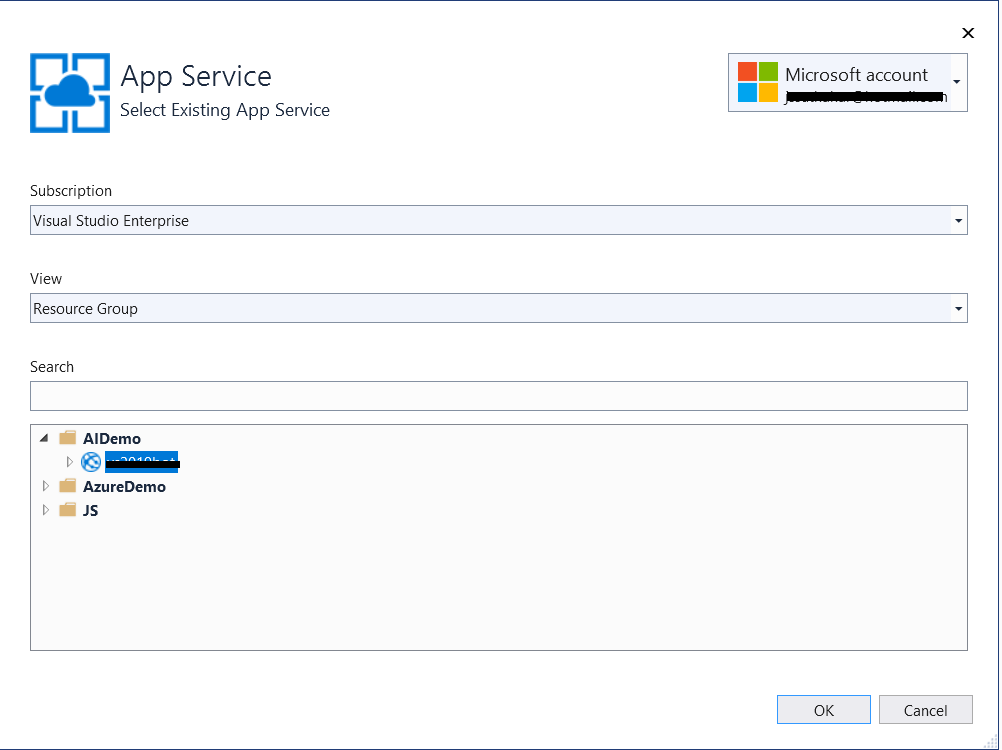
Login and Select Service:
Login with Microsoft Azure account and select the app existing app service from your resource group and click on Ok.
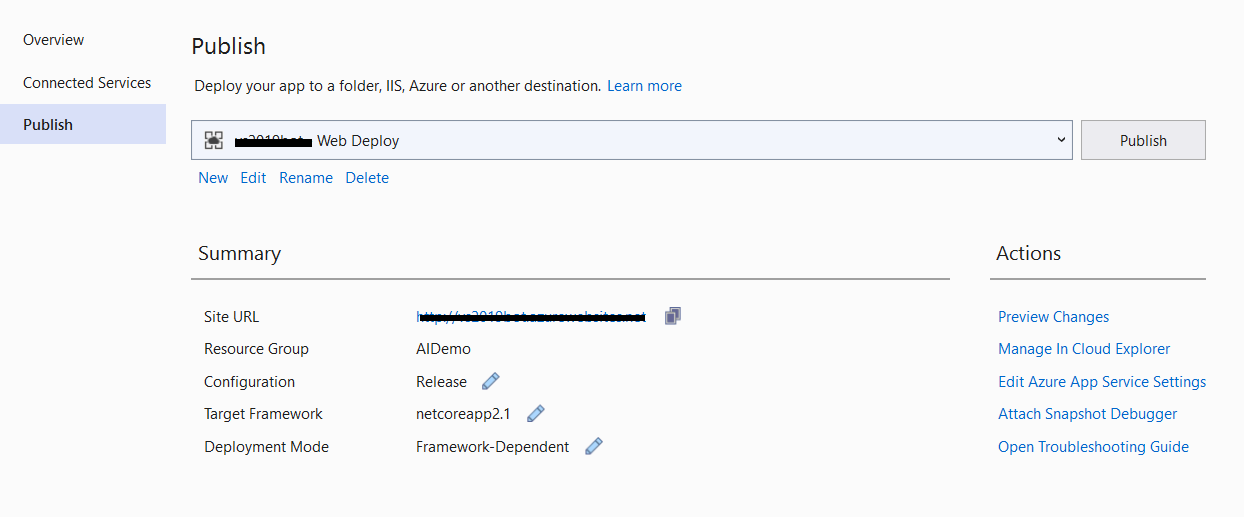
Bot Deploy confirmation:
Copy the Destination URL value to the clipboard (you'll need this value later to test the connection to the bot)
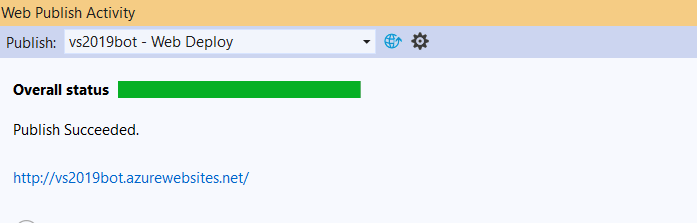
The following screen will display web publish activity status and as well as Site Url, once service published, it will redirect and open the browser.
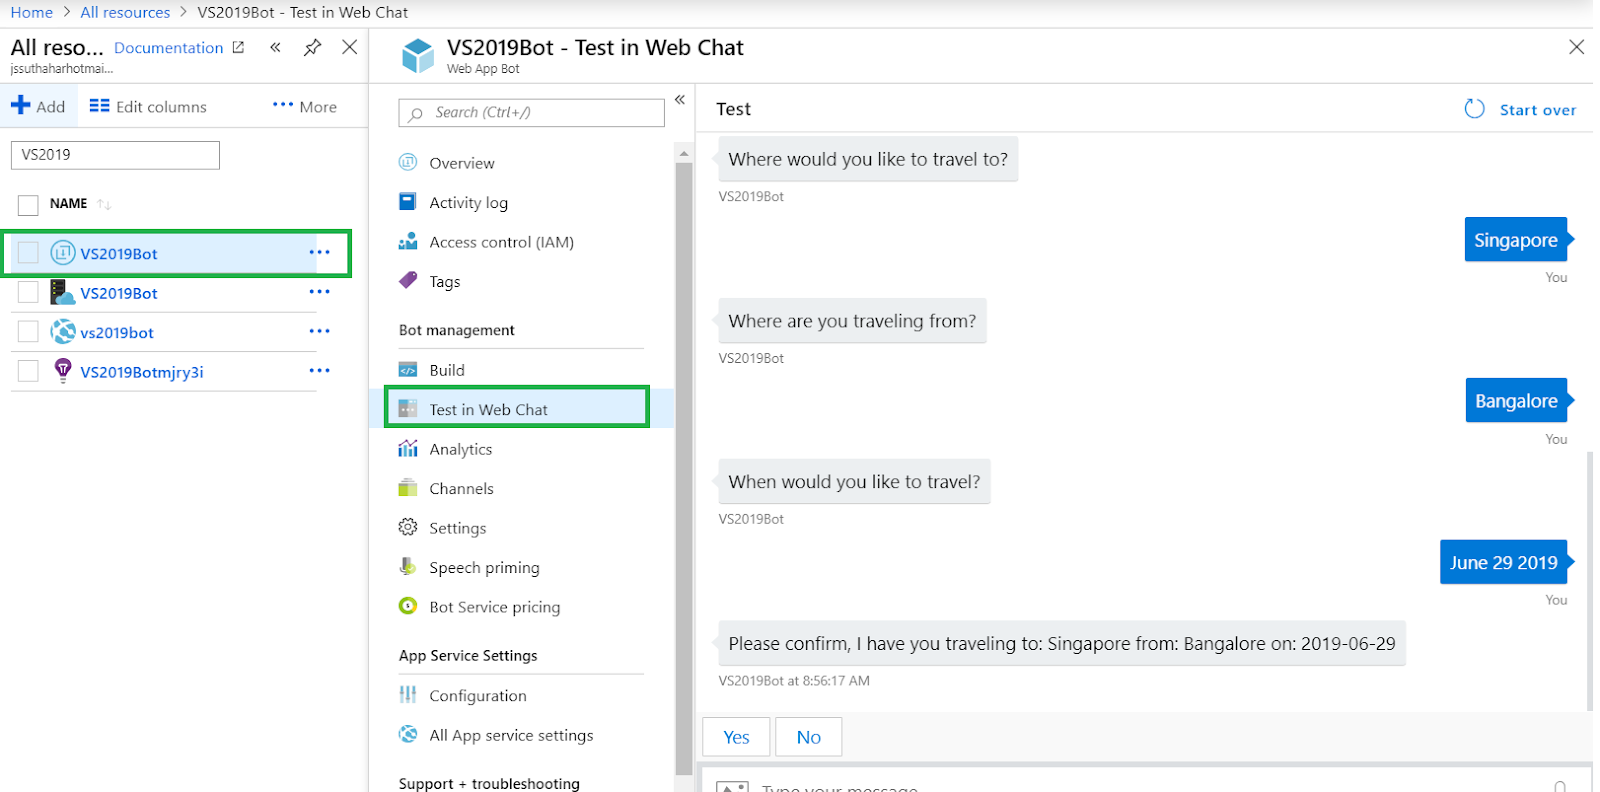
Test Bot Application on Azure Portal
We have completed all the steps for publish the application using VS 2019, You can open your Azure portal and navigate to your web app Chat channel and Click on test in Web App Chat.
Summary
In this article, I hope you well understood about Deploy a bot application to Azure portal using Visual Studio 2019. If you have any questions/ feedback/ issues, please write in the comment box.