Introduction:
The Bot Framework has supported the different type of rich cards and provides a richer interaction experience to the user. In this article, I will share about how to integrate Hero card UI design in Bot Application. The Hero card is a multipurpose card, its contains large a image, title text, sub text, multiple buttons, and a card tap action.
Prerequisite:
I have explained about Bot framework Installation, deployment and implementation in the below article
Create New Bot Application:
Let's create a new bot application using Visual Studio 2017. Open Visual Studio > Select File > Create New Project (Ctrl + Shift +N) > Select Bot application.
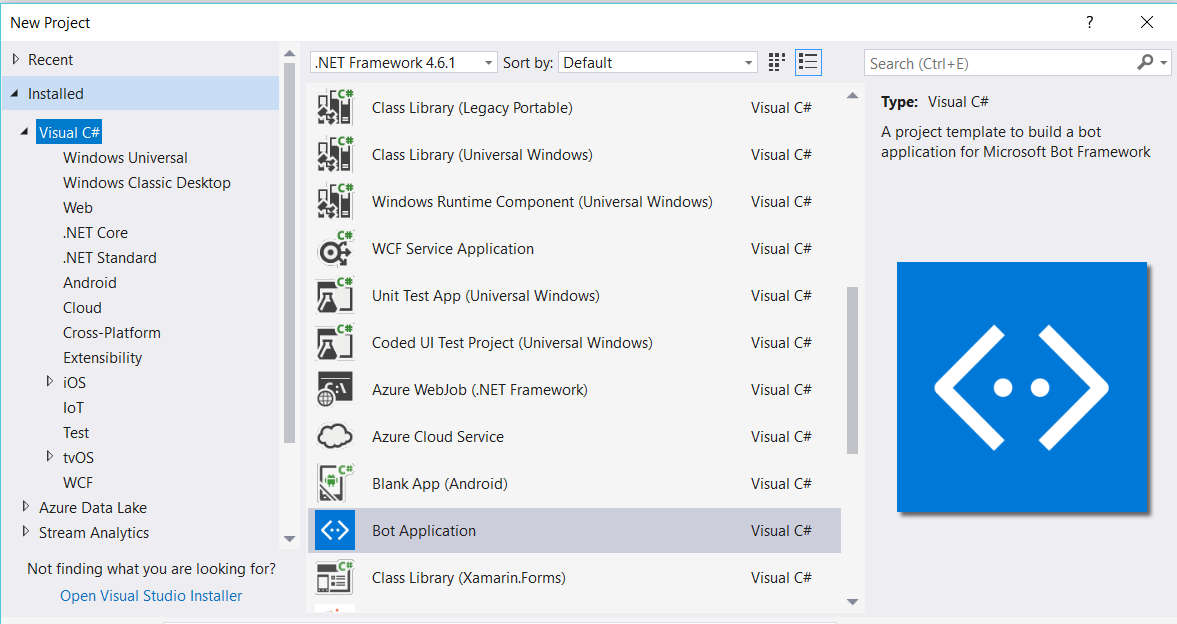
The Bot application template was created with all the components and all required NuGet references installed in the solutions.
Create New HeroCardDialog Class:
Step 1:
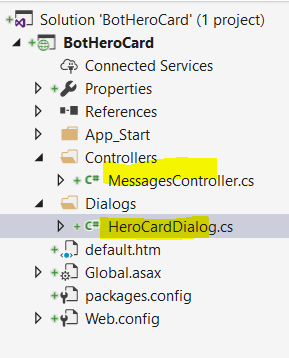
You can Create new HeroCardDialog class for a show the HeroCard dialog. Right Click on project > Select Add New Item > Create a class that is marked with the [Serializable] attribute (so the dialog can be serialized to state) and implement the IDialog interface.
using Microsoft.Bot.Builder.Dialogs;
using Microsoft.Bot.Connector;
using System;
using System.Collections.Generic;
using System.Threading.Tasks;
namespace BotHeroCard.Dialogs
{
[Serializable]
public class HeroCardDialog : IDialog<object>
{
|
Step 2
IDialog interface has only StartAsync() method. StartAsync() is called when the dialog becomes active. The method is passed the IDialogContext object, used to manage the conversation.
public async Task StartAsync(IDialogContext context)
{
context.Wait(this.MessageReceivedAsync);
}
|
Step 3:
Create a MessageReceivedAsync method and write following code for the welcome message and show the list of demo options dialog.
/// <summary>
/// MessageReceivedAsync
/// </summary>
/// <param name="context"></param>
/// <param name="result"></param>
/// <returns></returns>
public async virtual Task MessageReceivedAsync(IDialogContext context, IAwaitable<IMessageActivity> result)
{
var message = await result;
var welcomeMessage = context.MakeMessage();
welcomeMessage.Text = "Welcome to bot Hero Card Demo";
await context.PostAsync(welcomeMessage);
await this.DisplayHeroCard(context);
}
/// <summary>
///
/// </summary>
/// <param name="context"></param>
/// <returns></returns>
public async Task DisplayHeroCard(IDialogContext context)
{
var replyMessage = context.MakeMessage();
Attachment attachment = GetProfileHeroCard(); ;
replyMessage.Attachments = new List<Attachment> { attachment };
await context.PostAsync(replyMessage);
}
|
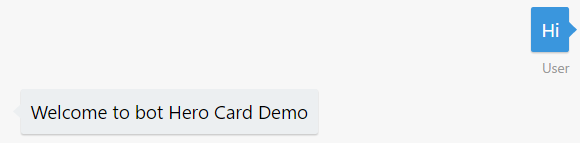
After user enter the first message, bot will reply welcome message like below
Step 4: Design Hero Card:
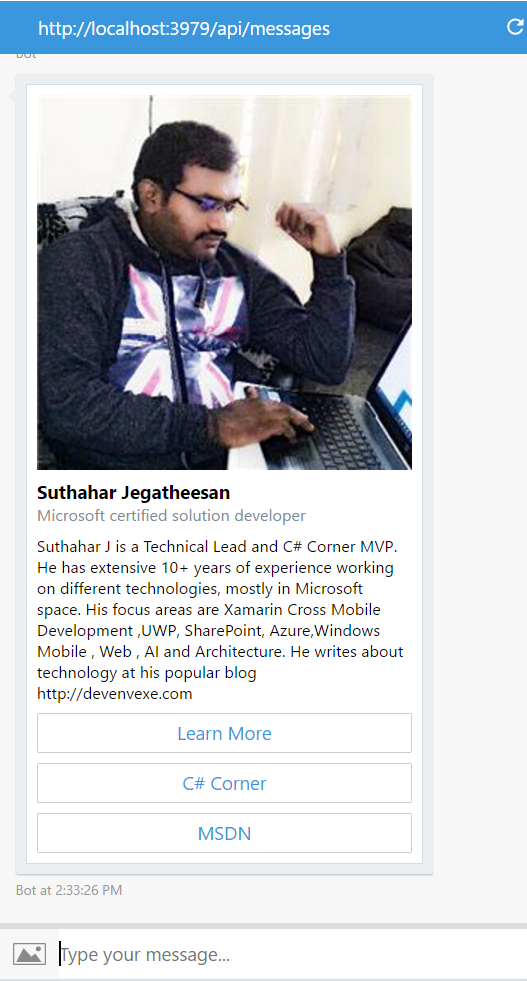
The Hero card typically contains a large image, one or more buttons, and text. Hero Card class has the following property
- Title - Title text of the card
- Subtitle -sub title text for the title
- Text – Summary text to display on the card
- Images – Display large image
- Buttons - One or more buttons. The Skype allow only 5 buttons will display on a card. If you have more buttons, you can create two cards.
- Tap - An action that is triggered when a user taps on the card.
The following code showing design the user profile message with image, text, subtext and action button. .
private static Attachment GetProfileHeroCard()
{
var heroCard = new HeroCard
{
// title of the card
Title = "Suthahar Jegatheesan",
//subtitle of the card
Subtitle = "Microsoft certified solution developer",
// navigate to page , while tab on card
Tap = new CardAction(ActionTypes.OpenUrl, "Learn More", value: "http://www.devenvexe.com"),
//Detail Text
Text = "Suthahar J is a Technical Lead and C# Corner MVP. He has extensive 10+ years of experience working on different technologies, mostly in Microsoft space. His focus areas are Xamarin Cross Mobile Development ,UWP, SharePoint, Azure,Windows Mobile , Web , AI and Architecture. He writes about technology at his popular blog http://devenvexe.com",
// list of Large Image
Images = new List<CardImage> { new CardImage("http://csharpcorner.mindcrackerinc.netdna-cdn.com/UploadFile/AuthorImage/jssuthahar20170821011237.jpg") },
// list of buttons
Buttons = new List<CardAction> { new CardAction(ActionTypes.OpenUrl, "Learn More", value: "http://www.devenvexe.com") , new CardAction(ActionTypes.OpenUrl, "C# Corner", value: "http://www.c-sharpcorner.com/members/suthahar-j"), new CardAction(ActionTypes.OpenUrl, "MSDN", value: "https://social.msdn.microsoft.com/profile/j%20suthahar/") }
};
return heroCard.ToAttachment();
}
|
The above code will generate hero card and reply to the user

Run Bot Application
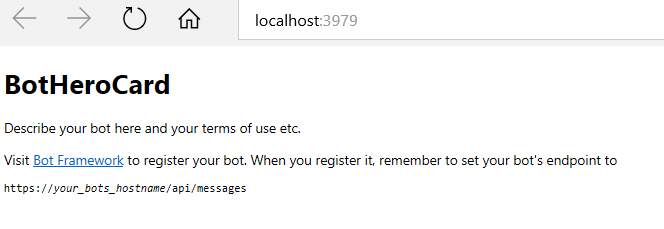
The emulator is a desktop application that lets us test and debug our bot on localhost. Now, you can click on "Run the application" in Visual studio and execute in the browser
Test Application on Bot Emulator
You can follow the below steps to test your bot application.
- Open Bot Emulator.
- Copy the above localhost url and paste it in emulator e.g. - http://localHost:3979
- You can append the /api/messages in the above url; e.g. - http://localHost:3979/api/messages.
- You won't need to specify Microsoft App ID and Microsoft App Password for localhost testing, so click on "Connect".
Summary
In this article, you learned how to create a Bot application using Visual Studio 2017 and create hero card design using bot framework. If you have any questions/feedback/ issues, please write in the comment box.
No comments:
Post a Comment